High quality white light interferometer made in Germany
2D/3D measurement software 1 set
Roughness measurement (2D/3D)
Film thickness difference (2D/3D)
X,Y,Z micro-size measurement
2D/3D microstructure display
High quality white light interferometer made in Germany
2D/3D measurement software 1 set
Roughness measurement (2D/3D)
Film thickness difference (2D/3D)
X,Y,Z micro-size measurement
2D/3D microstructure display
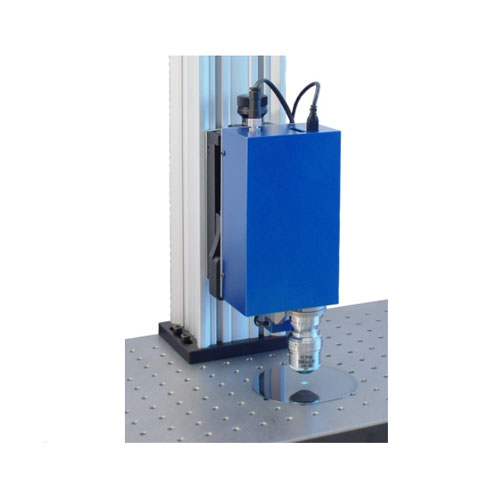
High quality white light interferometer made in Germany
Features:
1. 3D surface observation of microstructures for various material products
2. Z-axis 3D PROFILE measurement of small structures
3. Non-contact roughness measurement
4. Can measure the surface structure of different reflectivity and transparent materials
5. Z-axis analysis accuracy 1nm – 0.1nm
6. It can be installed in specialized equipment institutions according to the size of the product.
3D scanning principle
white light interferenceWhite Light Interferometry:
Pass a light source of a specific wavelength through a flat or convex mirror (DI objective lens)
Two reflections through the object produce "Newton rings" (also called interference fringes).
Its Z-axis upper and lower limit range scanning definition principle
Use the generation of interference fringes as the focal length judgment value
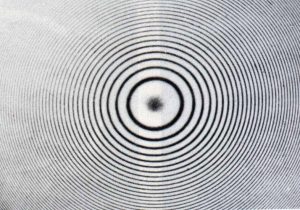
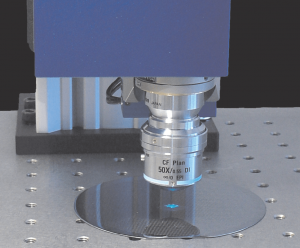
Can be equipped with interference objectives with different magnifications
The white light interference head can be mounted on different mechanisms
Connect with the machine to perform various analyzes and measurements
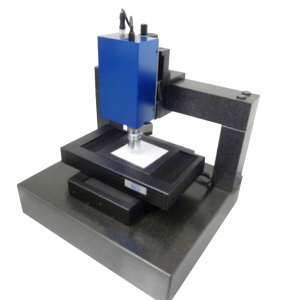
Can be used with the original electric stage (optional)
Optional active anti-vibration table,
Air-floating anti-vibration platform, anti-vibration damping platform
Topography 3D measurement function:
Ability to analyze and measure roughness and flatness
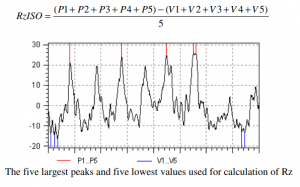
Roughness parameter Rz
International specifications for roughness: DIN 4762/1E, ISO/DIS 4287/1
Waveness parameter Wt
International standard for flatness: Standard: DIN 4774
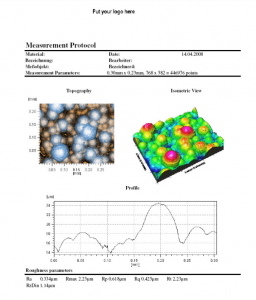
Roughness report format can be output and set according to needs
3D graphics, 2D planes, thickness graphics
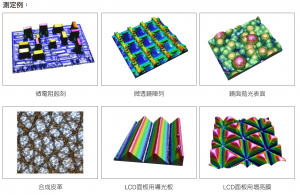
Application areas:
Bioengineering, semiconductor technology, optoelectronics technology, MEMS, optical manufacturing
Nanoengineering, steel, automobile, plastics, paper industry
Measurement items: incoming material inspection, production control, process improvement, quality inspection, fault analysis, R&D
| Measurement mode specifications | white light interference mode | |||||
| DI objective lens magnification
(optional) |
2.5X | 5X | 10X | 20X | 50X | 100X |
| Lens opening value
(NA) |
0.075 | 0.13 | 0.3 | 0.4 | 0.55 | 0.7 |
| working distance
mm |
10.3 | 9.3 | 7.4 | 4.7 | 3.4 | 2.0 |
| Field of view size
(FOV μm) |
7120X5340 | 3560X2670 | 1780×1335 | 890×655 | 356×267 | 178×134 |
| Lateral resolution
μm |
9.24μm | 4.62μm | 2.31μm | 1.16μm | 0.46μm | 0.23μm |
| Z-axis resolution
nm |
1nm | 1nm | 1nm | 0.1nm | 0.1nm | 0.1nm |
| Z-axis scanning range | 100, 250, 400µm optional as required | |||||
| light source | High-efficiency 505nm LED blue-green light source | |||||
| Camera specifications | Resolution 768X582 (48 pictures/second) | |||||
