solution
Metallographic equipment
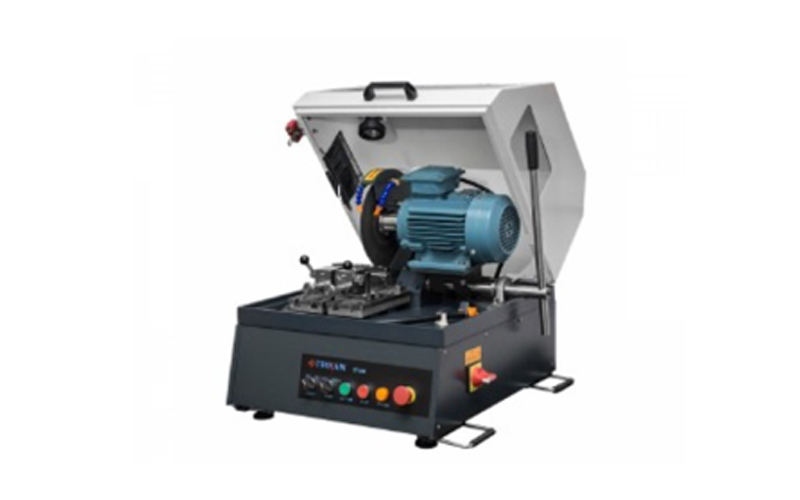
Desktop Metallographic Manual Cutting Machine
AT2500 desktop metallographic manual cutting machine, manual cutting, fast, convenient and safe, the best-selling product in 2020, economical and affordable, with super high CP value
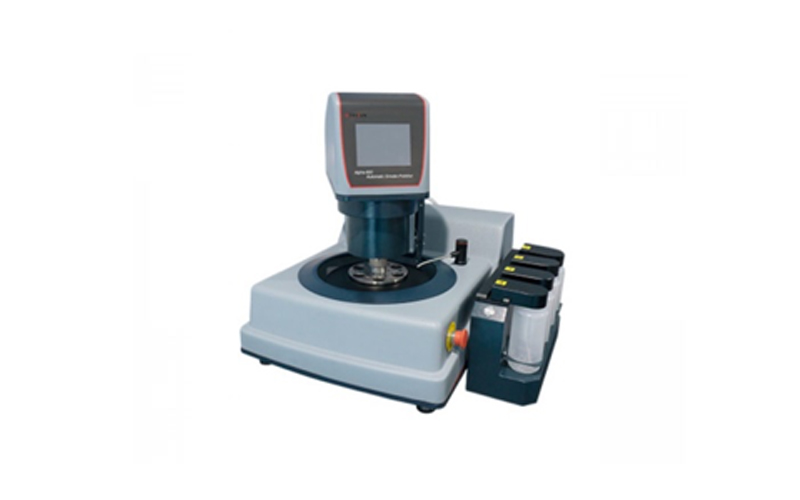
Fully automatic metallographic grinding and polishing machine
Evenly apply pressure to individual test pieces to achieve a smooth and flat surface, the touch screen is easy to understand, and multiple sets of memory modes record product grinding parameters
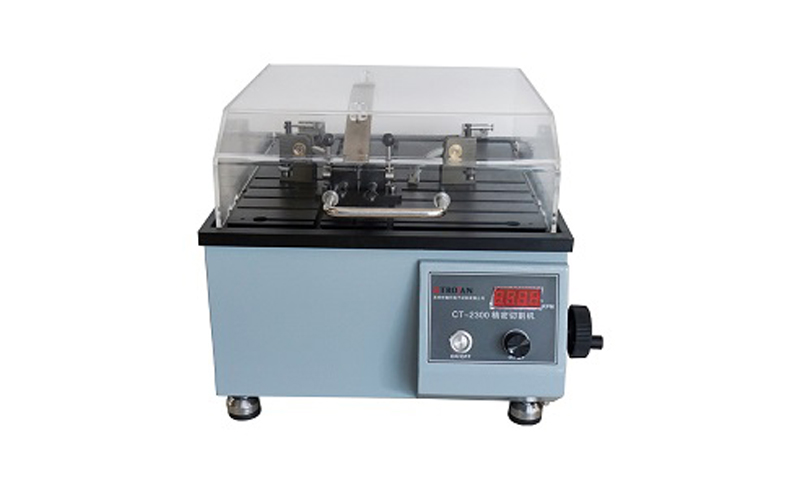
PCB board precision cutting machine
PCB printed circuit board finished product sampling and cutting machine, suitable for PCB slice production, LED slice section observation
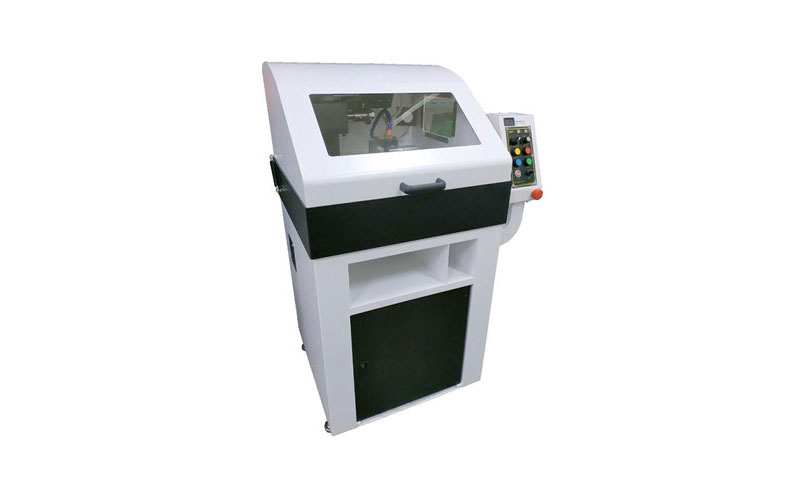
Metallographic precision cutting machine
100% is made in Taiwan with a novel appearance design, which is comparable to imported equipment. After years of market feedback and improvement, it is applied to various material processing industries
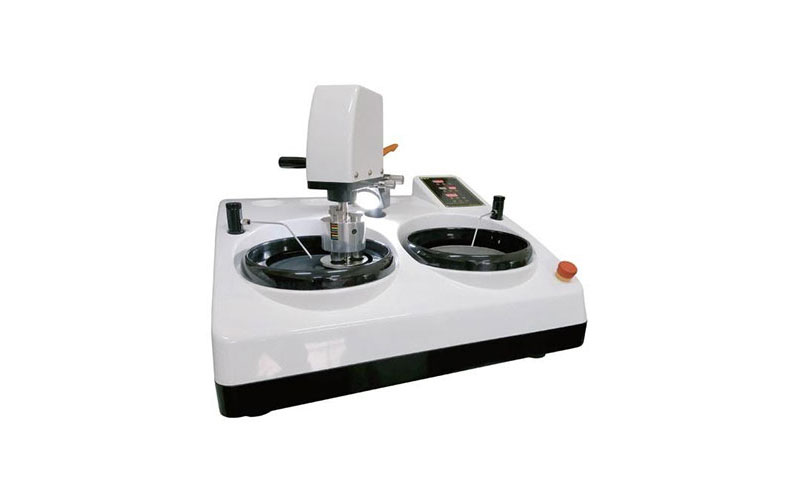
Metallographic grinding and polishing machine (automatic)
Fully automatic metallographic grinding and polishing machine, divided into two types, single disc and double disc, with waterproof operation panel and mirror surface, beautiful and generous
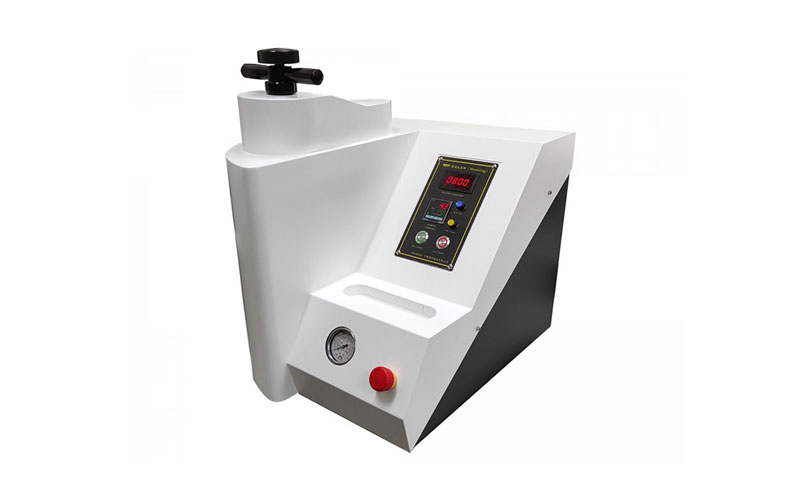
Hydraulic-Electric Embedding Machine
One-button press, automatic embedding, the production time can be completed in about 8 minutes, special and novel design, get rid of the traditional hydraulic oil leakage problem
Purpose of metallographic experiment
Purpose of Metallographic Experiment
1. Learn the complete steps of making a metallographic test piece, including sampling, embedding, grinding, polishing and corrosion.
2. Learn the functions and operations of metallographic microscopes, and understand the basic meaning of phase diagrams.
3. Combining the common sense of phase diagram and the observation of metallographic structure to understand the close relationship between alloy composition, thermal mechanical treatment, microstructure and material properties.
Principles of metallographic production
Metallographic production principle
After different alloy compositions and heat-mechanical treatment procedures, the material will produce different microstructures and obtain different properties. Therefore, the requirements for material-related properties can often be achieved by obtaining a specific microstructure through the design of appropriate alloy composition and thermal-mechanical treatment procedures.
Good preparation of metallographic specimens is the prerequisite for easy microstructure observation. The metallographic test piece is ground and polished to obtain a flat mirror surface. Usually, it must go through the etching process before it can be observed optically. The principle of corrosion is that the arrangement of atoms around the grain boundary is usually looser (compared to the inside of the grain), so its energy is relatively high, and the reaction to the corrosion solution is also more obvious. Therefore, after the polished test piece is properly etched, the crystal grains or metallographic phase can be seen clearly under the optical microscope.
Metallographic production process

Cutting and sampling
Sampling is the cutting of representative small test pieces from larger materials for processing. Therefore, when cutting the test piece, the cutting position and direction should be properly selected, and sufficient cooling must be paid attention to, so as to avoid local heating of the test piece due to cutting, which will cause tissue changes.

Embedded test piece
When the test piece is too thin and difficult to hold, or when you want to observe the edge structure of the test piece, the test piece needs to be embedded. Embedding can be divided into two types: hot embedding and cold embedding. Hot embedding uses a circle as the shape of the test piece, while cold embedding is formed according to the shape of different mold cups.

Metallographic grinding and polishing
The purpose of grinding is to remove the depth of surface damage or grain deformation during cutting. Generally, silicon carbide sandpaper or diamond grinding discs are used for grinding. Grinding methods can be divided into manual and mechanical. It is recommended to use a diamond grinding disc for fully automatic mechanical grinding.
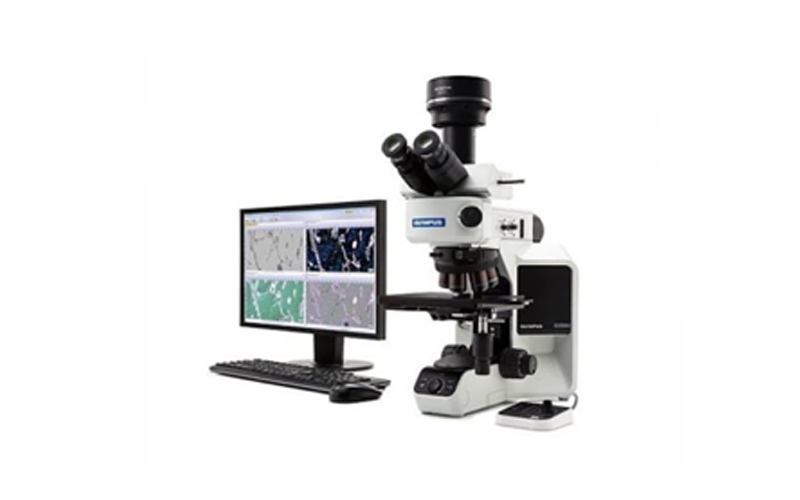
Microscope observation and photography
When the appropriate microstructure is observed on the test piece, the high-resolution camera equipped on the metallographic microscope can be used to photograph the microstructure for permanent preservation and recording purposes, and it can also be imported for metallographic analysis for analysis.
Sales
Customer Reference
Sinosteel Malaysia, Qingda Technology, Yingming Industrial, Changjing Industrial, Jinchun Industrial, Chiayi Iron and Steel, TOEFL Industrial, Dacheng Stainless Steel, Taiwan Fastener Industry Technology Development Association, Feng Chia University, China Iron and Steel, Yaoshen Industrial, Metal Center . Aerospace, International Line, Qingxin Steel, Jianxin Technology, Huwei University of Science and Technology, Xintai Steel Industry, Mengying Technology, Chenwei Metal Industry, Tomita Electric, Standard Inspection Technology, Non-ferrous Industry, AirTAC.
Metallographic software
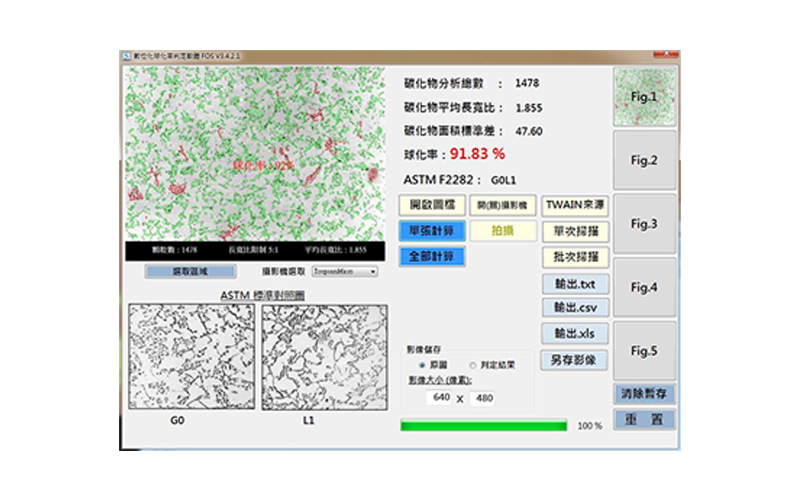
Cast iron metallography - vermicular nodularization rate
Take the metallographic image (500 times) with a microscope to calculate the percentage of carbide particles that meet the aspect ratio.
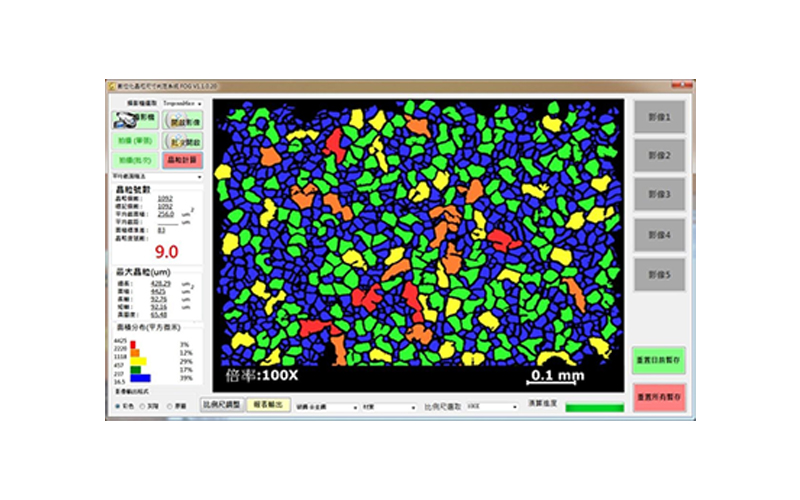
Alloy Metallography - Grain Size Analysis
In the part of special alloy, it is aimed at the analysis of grain size and gray scale metallography in metallography.
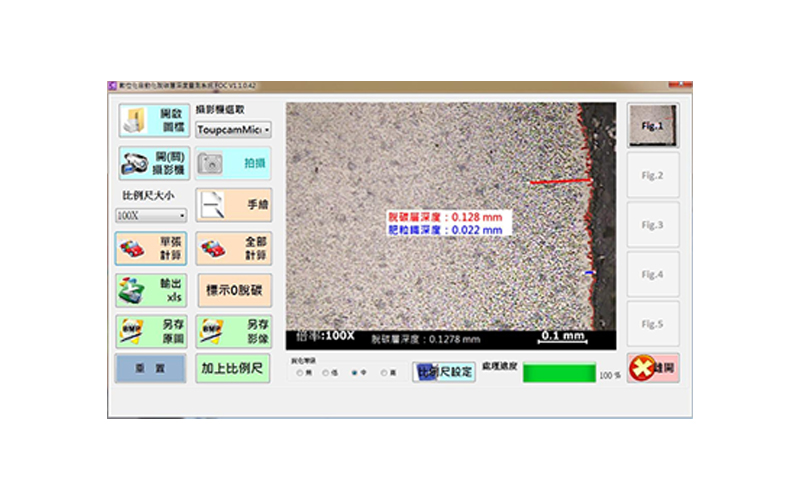
Residual wast iron analysis
The decarburization layer is defined as the distance from the initial position of decarburization to the surface layer, which can be divided into the depth analysis of fertilized iron decarburization layer, partial decarburization layer, and full decarburization layer.
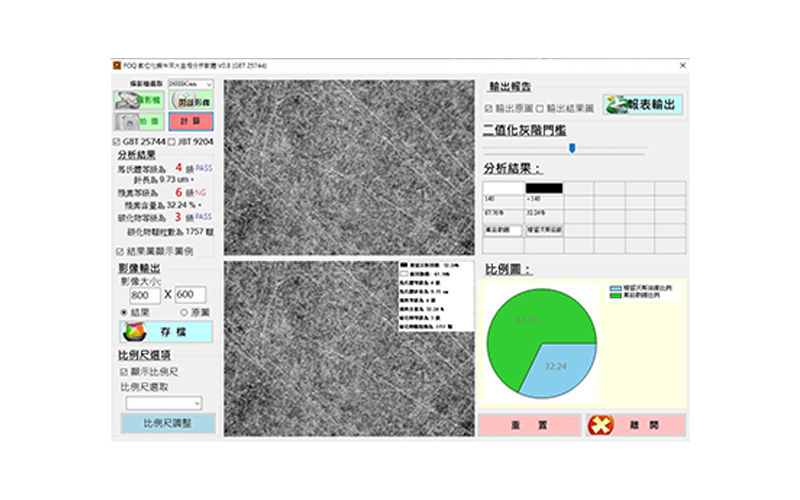
Metallographic Analysis of Steel Carburizing and Quenching
For metallographic analysis, it is needle-shaped and spherical Matian loose iron (steel quenching) and tempered Matian loose iron analysis.
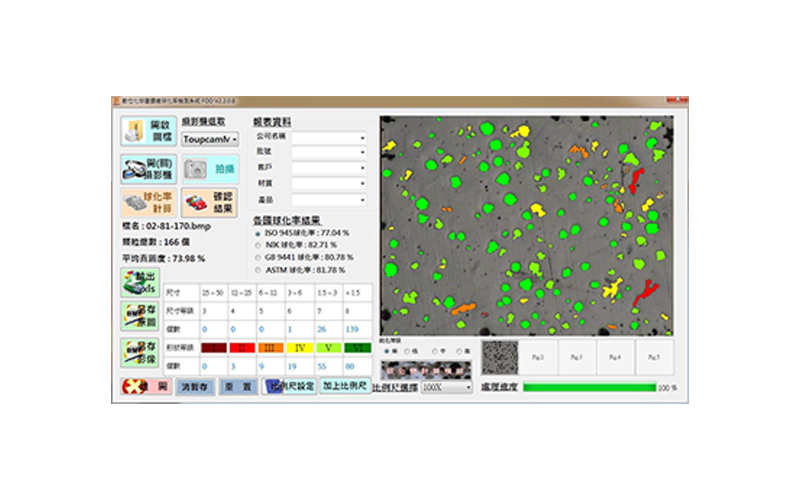
Cast iron metallography - nodularity rate
The detection method of the nodularity rate of ductile iron is in accordance with the American standard ASTM A247, E2567-13.
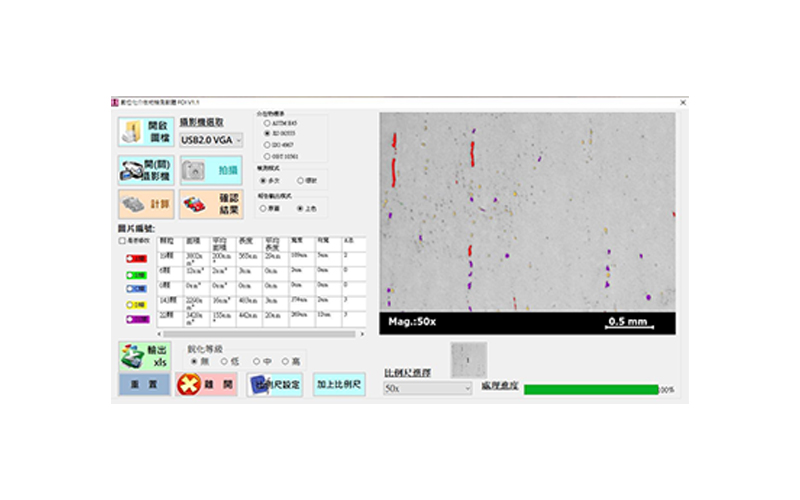
Analysis of metal intervening objects (inclusions)
In the steelmaking industry, the metallographic analysis that is often used is the analysis of inclusions (inclusions).
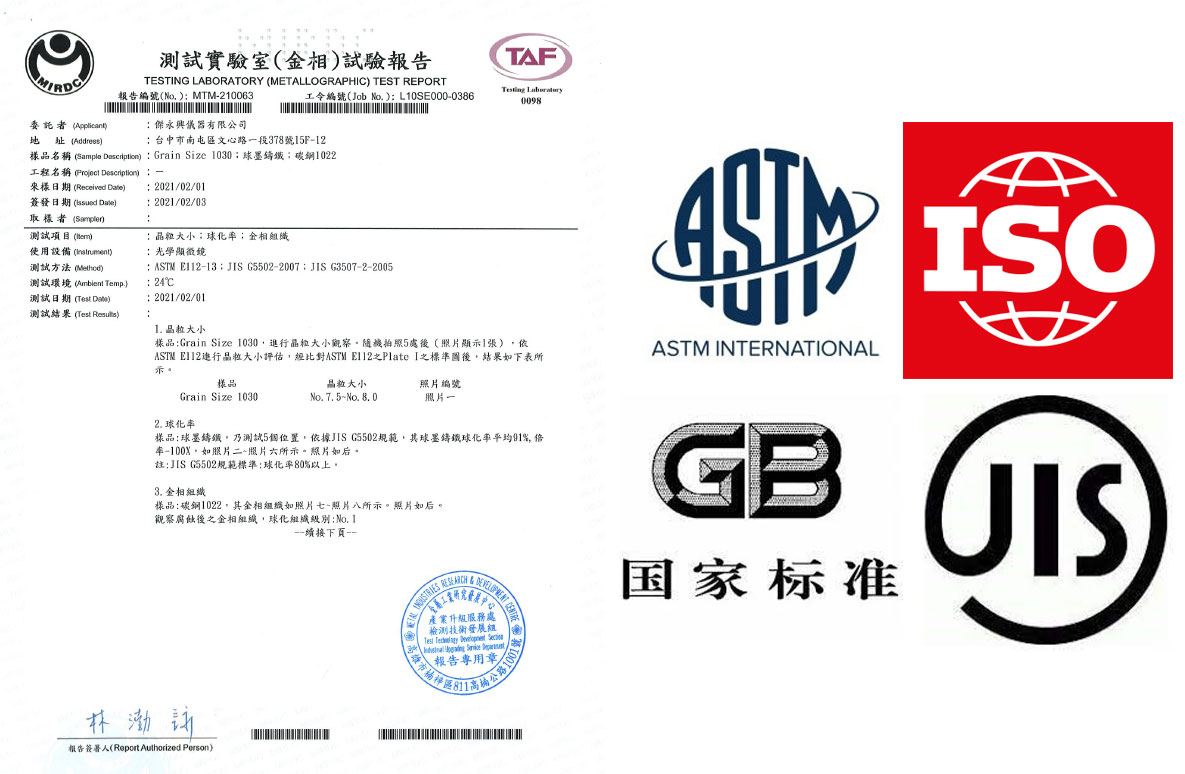
Relevant International Standards for Metallographic Analysis
Purpose of Metallographic Experiment
The metallographic analysis software corresponding to each industry is based on the analysis codes of various countries
Our company also provides traceability of standard test pieces certified by TAF laboratory.
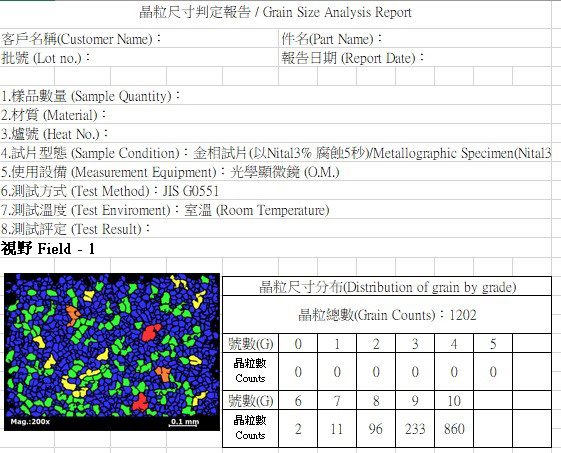
Analysis report export
Metallographic production principle
The analysis results can be exported as a report, and the metallographic analysis chart and company information can be exported to the report. In addition, our company can provide customers with free report customization services.
A: Avoid the high temperature generated during cutting to destroy the normal metallographic structure
A: Using the forward and reverse directions of the grinding machine and the grinding head, the fine lines produced during grinding can be eliminated
A: After polishing, the surface must be cleaned and dried, and then corroded to eliminate impurities outside the tissue
A: It needs to be cleaned and dried to avoid affecting the concentration of the corrosion solution, resulting in incomplete corrosion and failure to present metallographic phases
A: After a long time, it may cause the lens to loosen and cannot focus accurately, so that the metallographic observation cannot be clearly observed.
A: The operation SOP must be followed to avoid man-made damage to the lens due to random switching of the magnification of the lens

