Customize the field of view of stitched pictures
Set the field of view and create a single file for full-area measurement
Simultaneous measurement of multiple workpieces
Splice 200 mm*200 mm within 40 seconds
Customize the field of view of stitched pictures
Set the field of view and create a single file for full-area measurement
Simultaneous measurement of multiple workpieces
Splice 200 mm*200 mm within 40 seconds
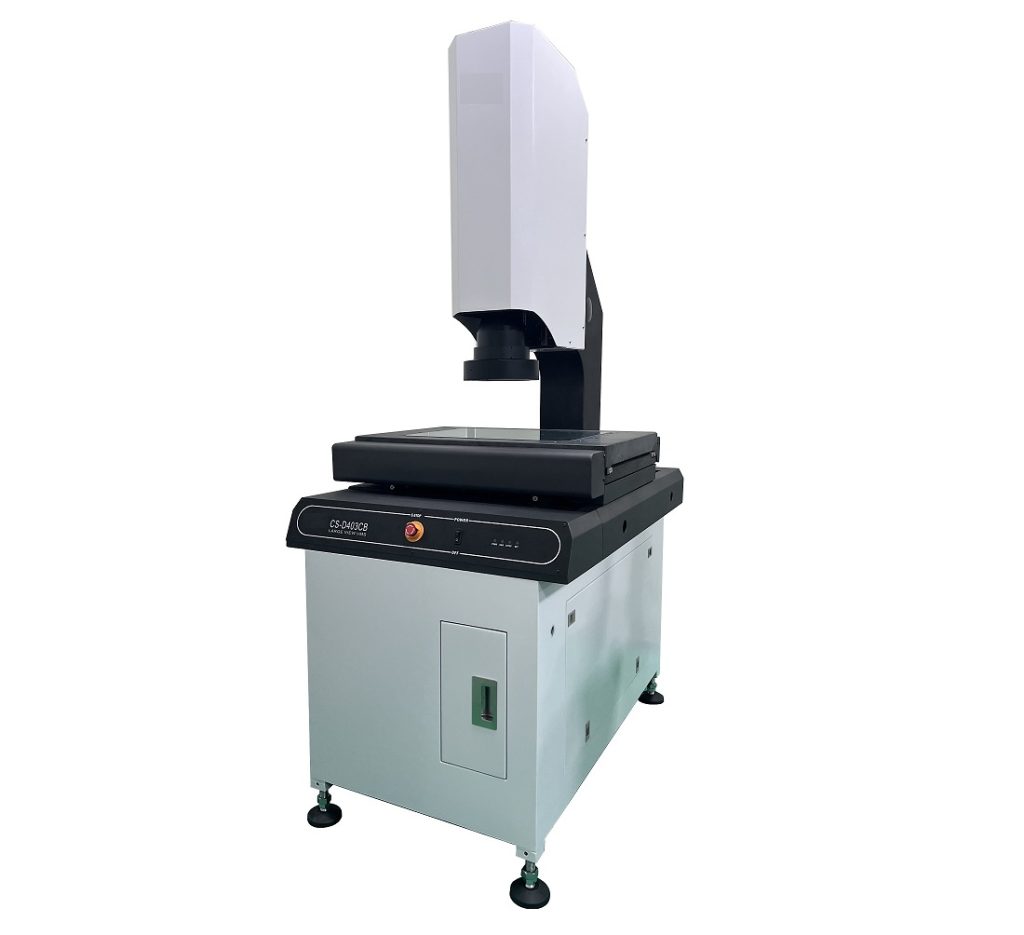

Large-sized workpieces or a large number of objects to be tested can be spliced and scanned
One-click measurement of multiple sizes after splicing
Application examples:
Lead frame splicing measurement PCB board measurement application
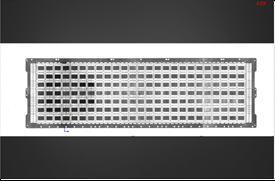
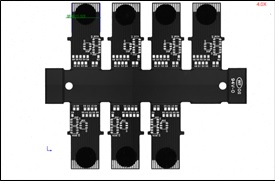
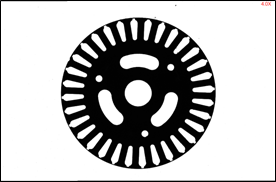
Metal processing products Large processing parts
1. XYZ fully automatic setting and measurement
2. Quickly scan and stitch images
3. AOI image recognition combined with coordinate system positioning setting
4. Dual field of view switching, can measure and observe products of different sizes
5. The measurement history setting files can be imported without re-building the files
6. Use 20 million pixel camera for high-speed measurement
| MVW-D3525CB | ||
| Working distance (mm) | 145mm | |
| Working load(kg) | 20 | |
| Workbench lifting stroke (mm) | 150 | |
| Focus (z) | auto focus | |
| Drive control system | Independent motor control | |
| Image measurement | Telecentric lens magnification | 0.16X |
| 0.64X | ||
| Large field of view (mm) | 80*50 | |
| Small field of view (mm) | 20*14 | |
| Repeatability (um) | 5 | |
| Movement accuracy(um) | 3+L/200 | |
| Depth of field (mm) | 6mm@25Ip/mm | |
| 0.6mm@64Ip/mm | ||
| Image sensor | 20MP USB3.0 Industrial Camera | |
| digital measuring system | Professional software for data processing | |
| Lighting system | Surface light, bottom light (automatic best light source) | |
| Instrument dimensions (mm)
(L x W x H) |
1000*690*1755 | |
| Instrument weight (kg) | Approx. 500 kg | |
