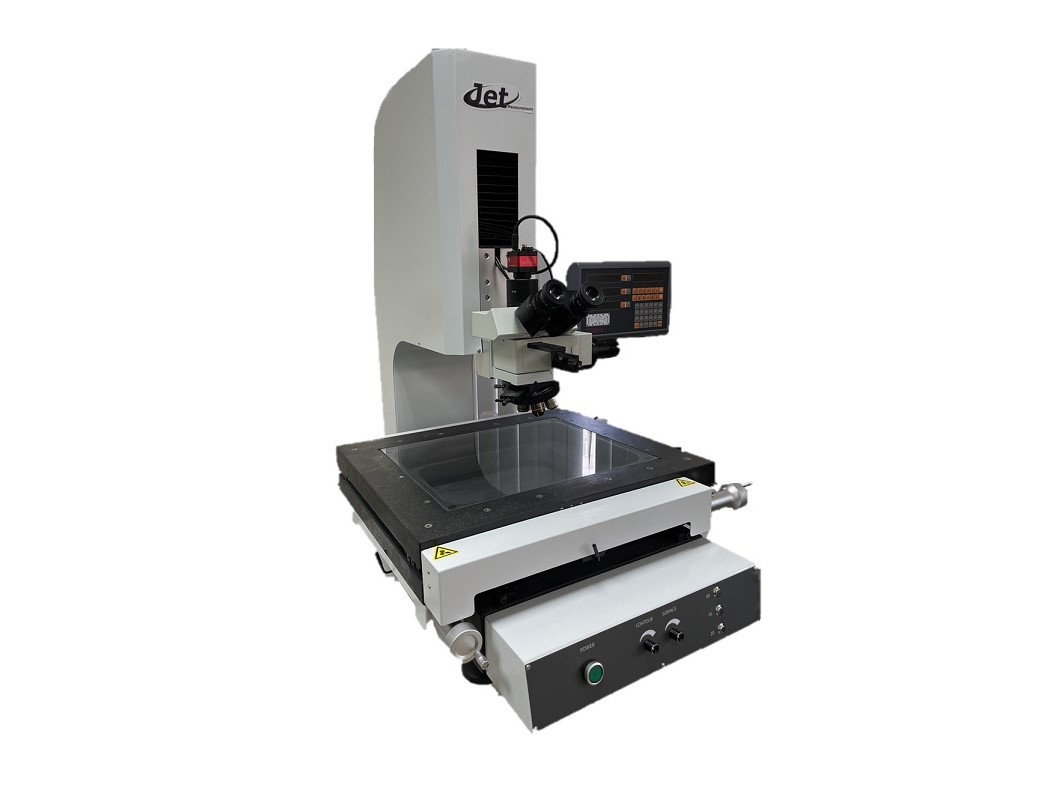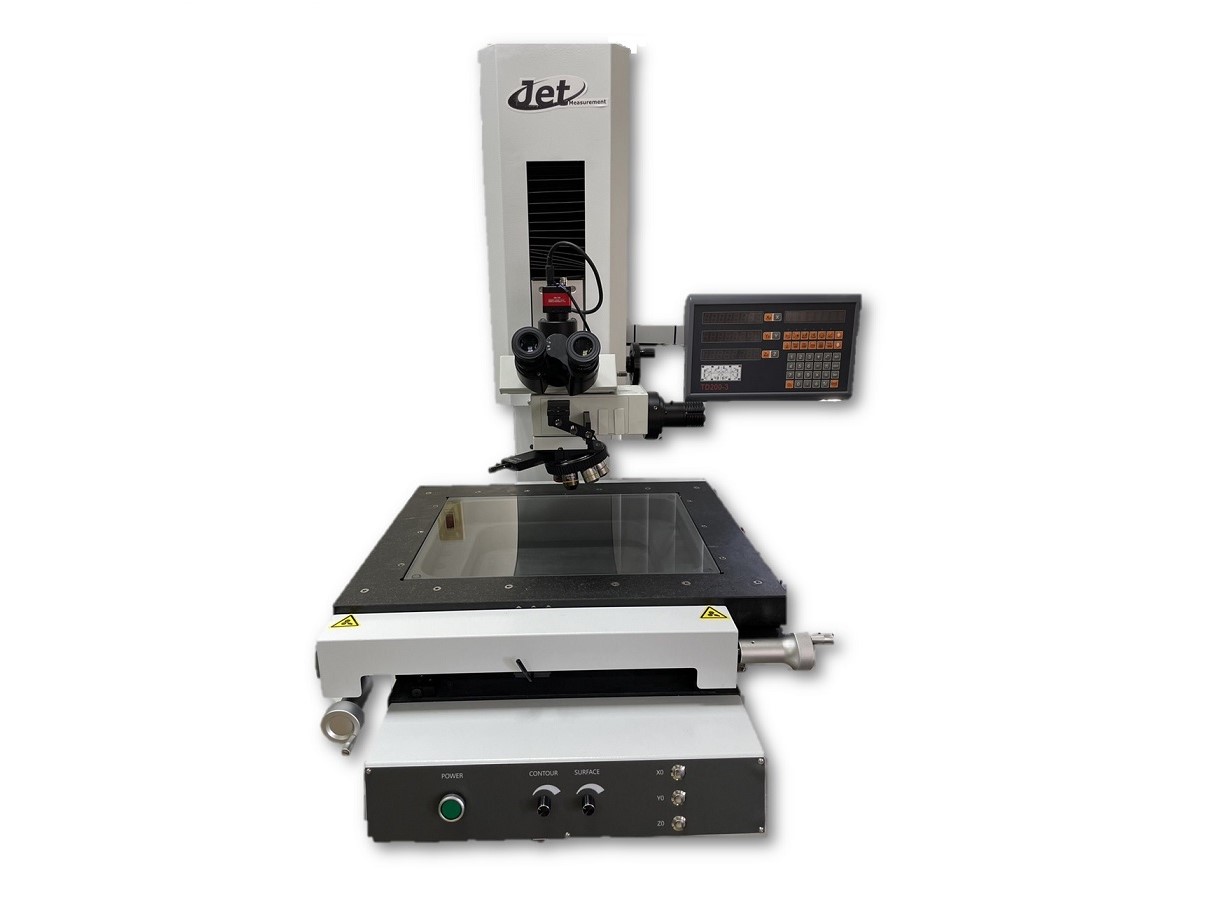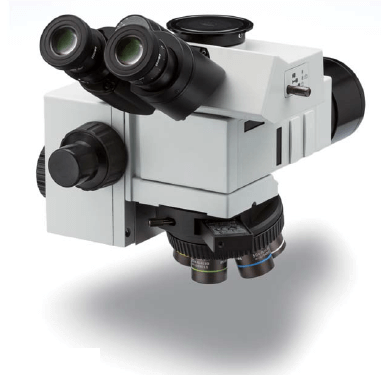

Novel appearance design and color matching comparable to Japanese brand models
Ergonomic design reduces operator fatigue during long-term use
XYZ three-axis movement is fully designed in front of the user, with TITING three-eye head
The best operating height can be adjusted according to the height of the user

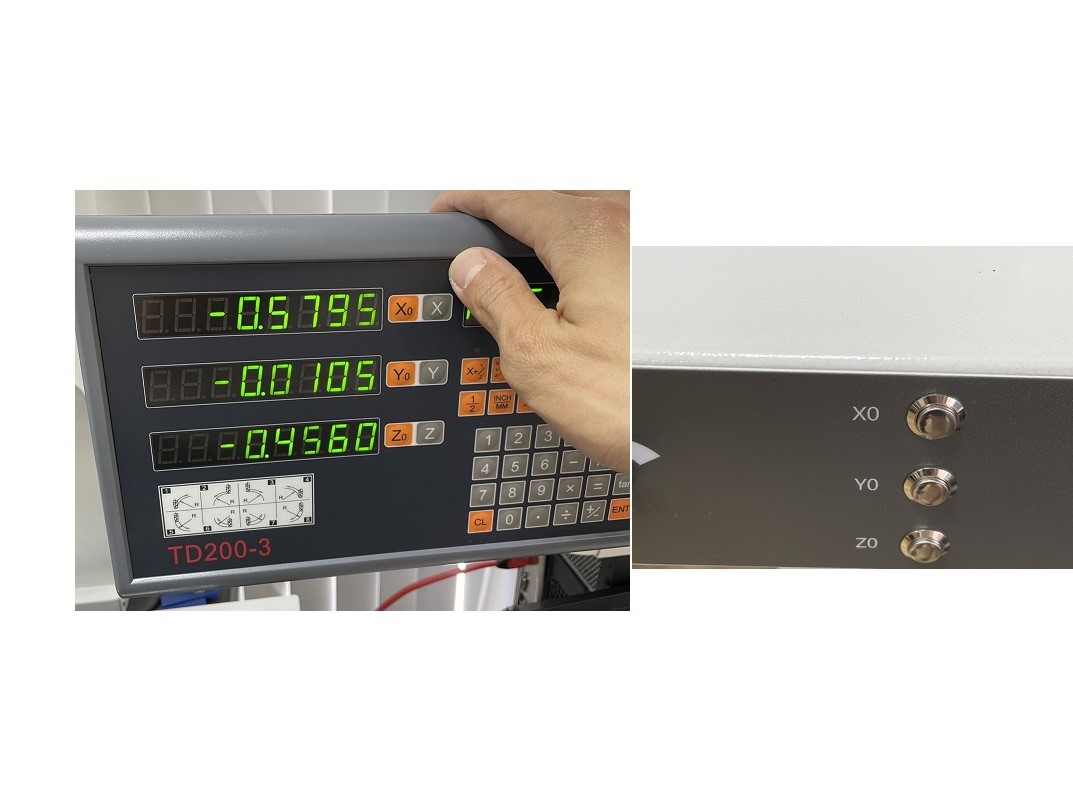
The zeroing control of the optical ruler can be controlled from the upper three-axis display or from the panel below the stage.

Optional stepper motor adjustment for Z-axis focus


The optical system can be matched with various brands; OLYMPUS, NIKON, LEICA, etc.
The application of observation method can choose bright and dark field, polarized light observation, DIC differential interference observation, etc.
10X eyepiece, with 5X, 10X, 20X, 50X objective lens (100X and Changgong objective lens optional)
The minimum resolution can reach 0.37um


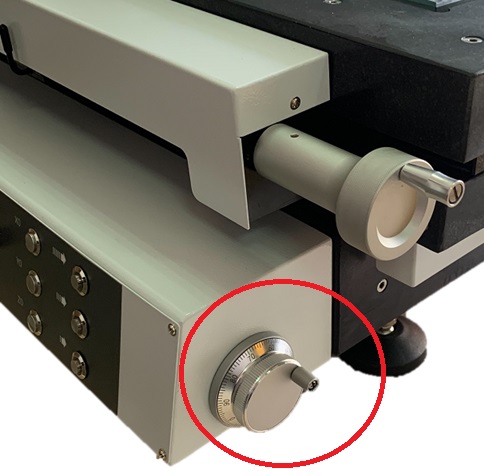
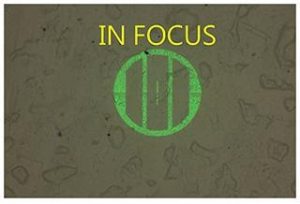
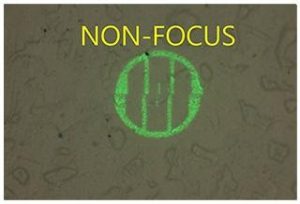
An auxiliary focuser is also optional.
When measuring the Z-axis height, the measurement error of human parallax can be eliminated
The repeatable focus accuracy of the focus symbol can reach 0.001mm


